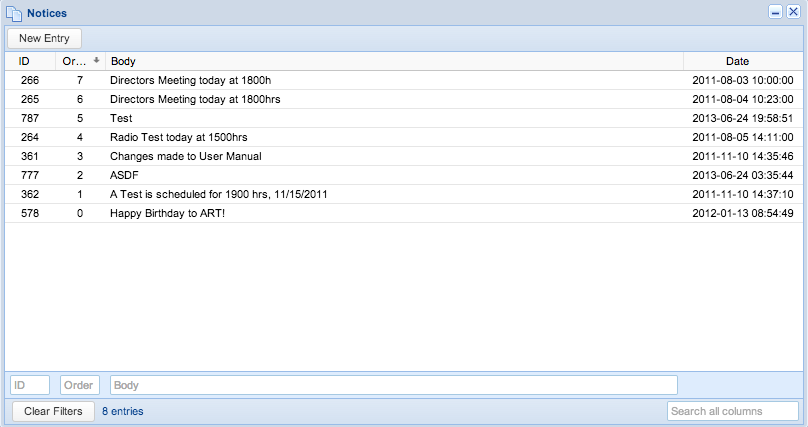
Panels are used as a minimalistic approach to providing users with easily accessible auxiliary information. This information can include real time status updates through the Feed, as well as manually logged info through the Journal, and links to outside information or resources.
Feed
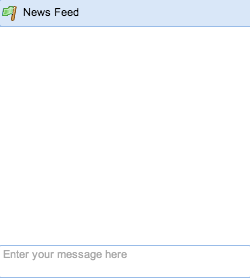
The feed is an encrypted real time communications feed that is sent to all online users in that particular agency. Including users logged in through the ReadyOp mobile applications.
Accessing the Feed
- Start by clicking the “Feed” tab on the right side of the ReadyOp dashboard.

- For help locating this tab, contact your system administrator as it may have been re-named.
- A news feed dialog will display, any messages that have been sent or received within the last 24 hours will appear automatically inside this tab.
- To send a message, type the message you would like to send in the input box and press enter.
- This input box may not be available to all users, depending on your user profile and permission level.
Info & Links
The Info & Links are two different sections that work the same way, and they are a way of accessing links to external information/web pages. An administrator can add links to external websites that will be available for every user of that specific agency.
Creating a Link
- Start by opening the “Info” tab to expand on the right side of the ReadyOp dashboard.

- For help locating this tab, contact your system administrator as it may have been re-named.
- When expanded, click the pencil icon to open the manage links dialog in the upper right hand corner of the info tab.

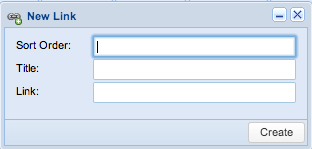
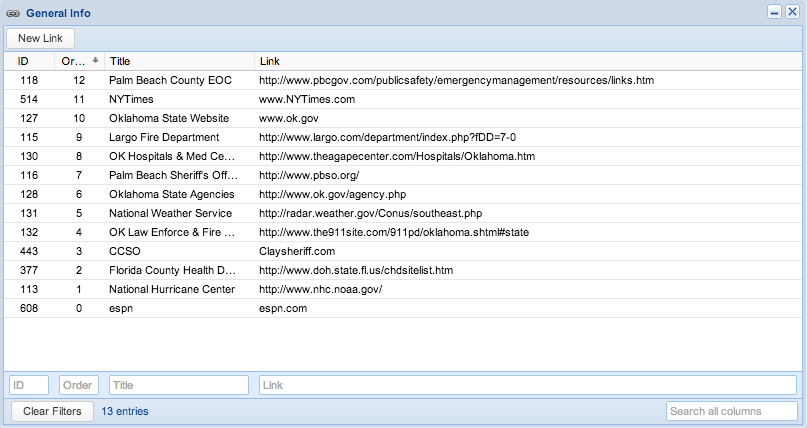
- Inside the dialog you’ll find a list of existing web links. Click the “New Link” button to bring up the new link dialog.
- Enter the link information and press “Create” to save and create the new link.
Deleting a Link
- Start by opening the “Info” tab on the right side of the ReadyOp dashboard.

- For help locating this tab, contact your system administrator as it may have been re-named.
- Click the pencil icon to open the manage links dialog

- Inside the dialog you’ll find a list of existing web links. Double click the link you’d like to delete.
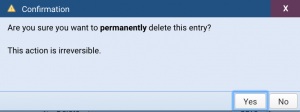
- Press the “Delete” button to continue, at which point you’ll be prompted one final time with a warning before the link is removed.
Modifying a Link
- Start by opening the “Info” tab on the right side of the ReadyOp dashboard.

- For help locating this tab, contact your system administrator as it may have been re-named.
- Click the pencil icon to open the manage links dialog.

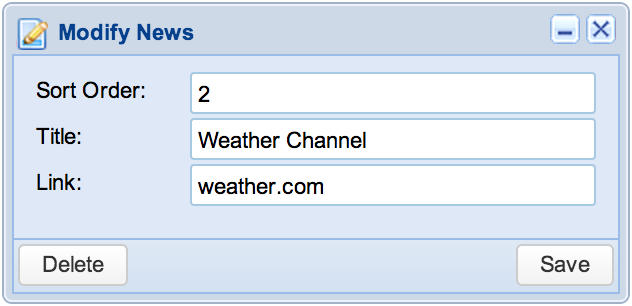
- Inside the dialog you’ll find a list of existing web links. Double click the link you’d like to modify.
- Change the links information and once complete press “Save” to save your changes.
Journal
The ReadyOp Journal is a way to enter a daily record of events or news. This information is shared with all users who have permission, in the given agency.
Creating an Entry
- Start by opening the book icon tab on the right side of the ReadyOp Dashboard

- For help locating this tab, contact your system administrator as it may have been re-named.
- Click the pencil icon to open the manage journal dialog

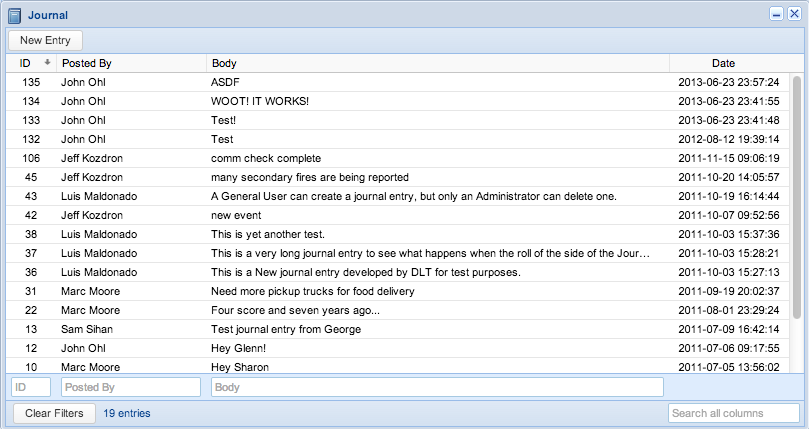
- Inside the manage journal dialog, you will find a list of created entries. To continue creating your new entry press the “New Link” button in the upper left corner.
- News entries are not shared with mobile users on the ReadyOp DT application.
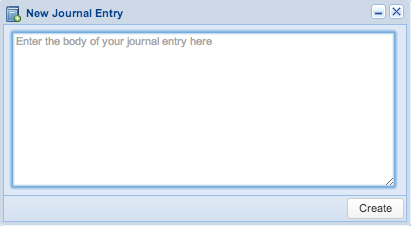
- Enter the message you’d like to log and press “Create” to create the new entry.
- Journal entries cannot be modified or deleted once created.
News
The ReadyOp news function is similar to the journal in that you can post various messages and information you’d like to share with other Dashboard users. The primary difference is that in addition to creating news entries an administrator can modify and delete information as well. Like the journal, news entries are not shared with mobile users on the ReadyOp DT application.
Creating an Entry
- Start by opening the “News” tab on the right side of the ReadyOp dashboard.

- For help locating this tab, contact your system administrator as it may have been re-named.
- Click the pencil icon to open the manage news dialog

- Inside the manage news dialog, you’ll find a list of created entries. To continue creating your new entry press the “New Entry” button in the upper left corner.
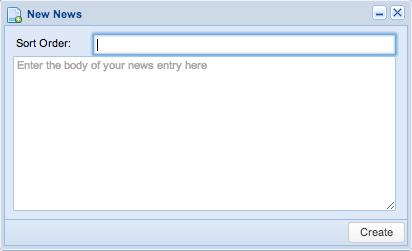
- Enter the message you’d like to log and press “Create” to create the new entry.
Deleting an Entry
- Start by opening the “News” tab on the right side of the ReadyOp dashboard.

- For help locating this tab, contact your system administrator as it may have been re-named.
- Click the pencil icon to open the manage news dialog

- Inside the dialog you’ll find a list of existing news entries. Double click the entry you’d like to delete.
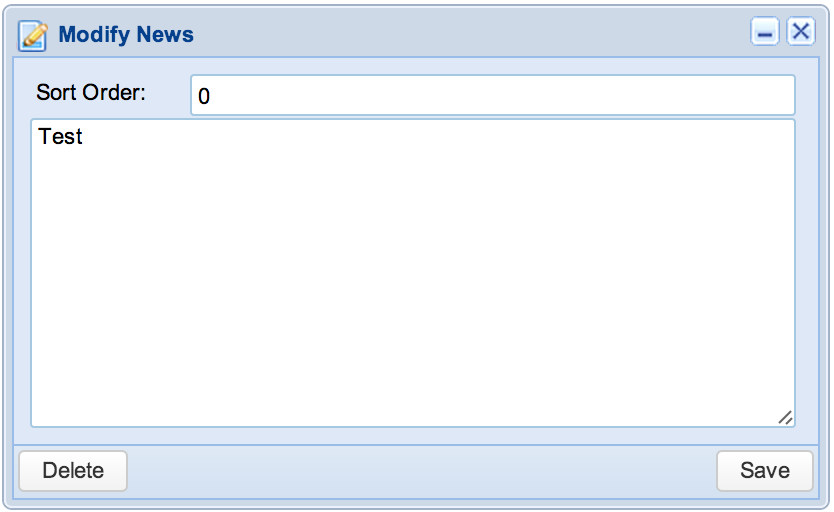
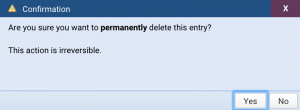
- Press the “Delete” button to continue, at which point you’ll be prompted one final time with a warning before the entry is removed.
Modifying an Entry
- Start by opening the “News” tab on the right side of the ReadyOp dashboard.

- For help locating this tab, contact your system administrator as it may have been re-named.
- Click the pencil icon to open the manage info dialog.

- Inside the dialog you’ll find a list of existing news entries. Double click the link you’d like to modify.
- Change the entry’s information and once complete press “Save” to save your changes.
