Self-Registration
This is a link that can be added to a website, but is individual for each agency. This link works only for your agency. The agency number at the end of the link determines which agency the information is communicated to for registration and for integration into the roster.
You must have an ‘Agency Administrator’ access to create the self-registration link
To create a Self-Registration
- Start by clicking the “Menu” button followed by “Access” in the top-right corner of the ReadyOp dashboard.
- Inside the “Manage Access” dialog, select the “Agencies” tab.
- This tab may not be present if you have not been granted access to manage agencies.
- Continue by double clicking on the agency and a “ Modify Agency”dialog will display.
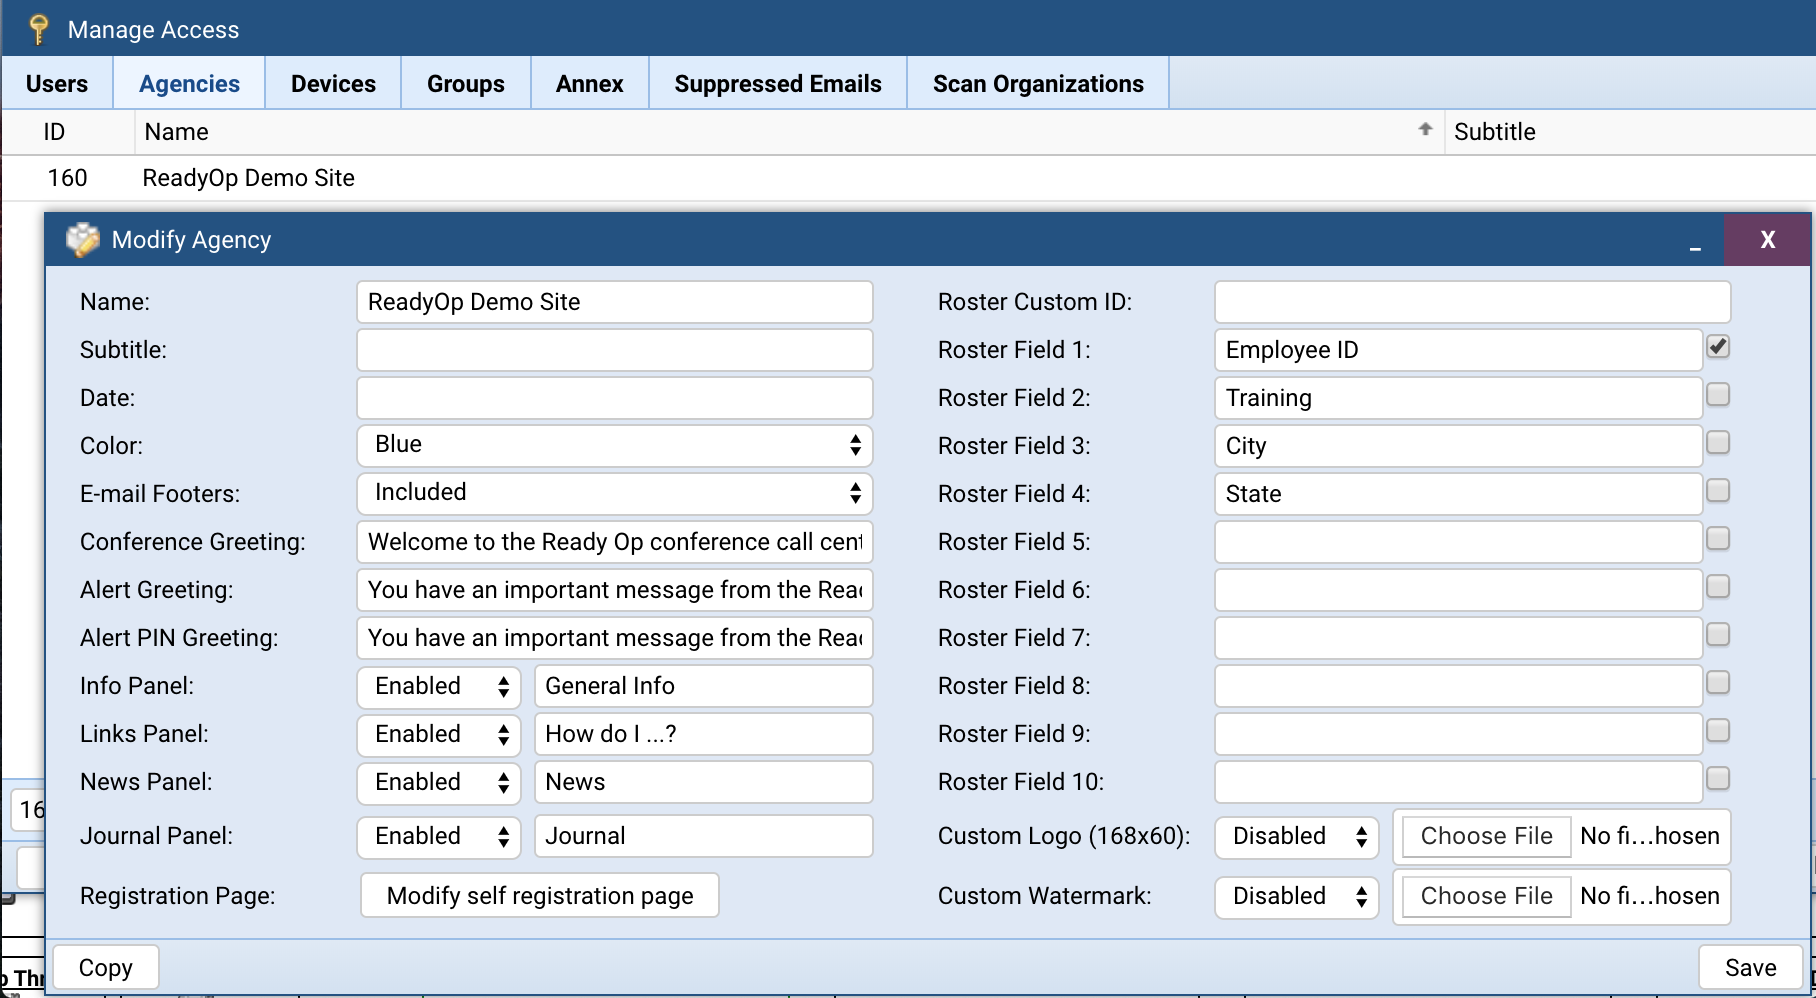
- On the right side of the modify agency dialog you will find up to 10 additional roster fields that can be added to the Roster. If you would like this information for the new roster field to appear in the self-registration page, make sure to checkmark the box(es) to the right of the roster field. (in the picture attached above, you can see “Employee ID” was checked). Press “Save” when you have finished adding and checking the roster field(s) to save the changes.
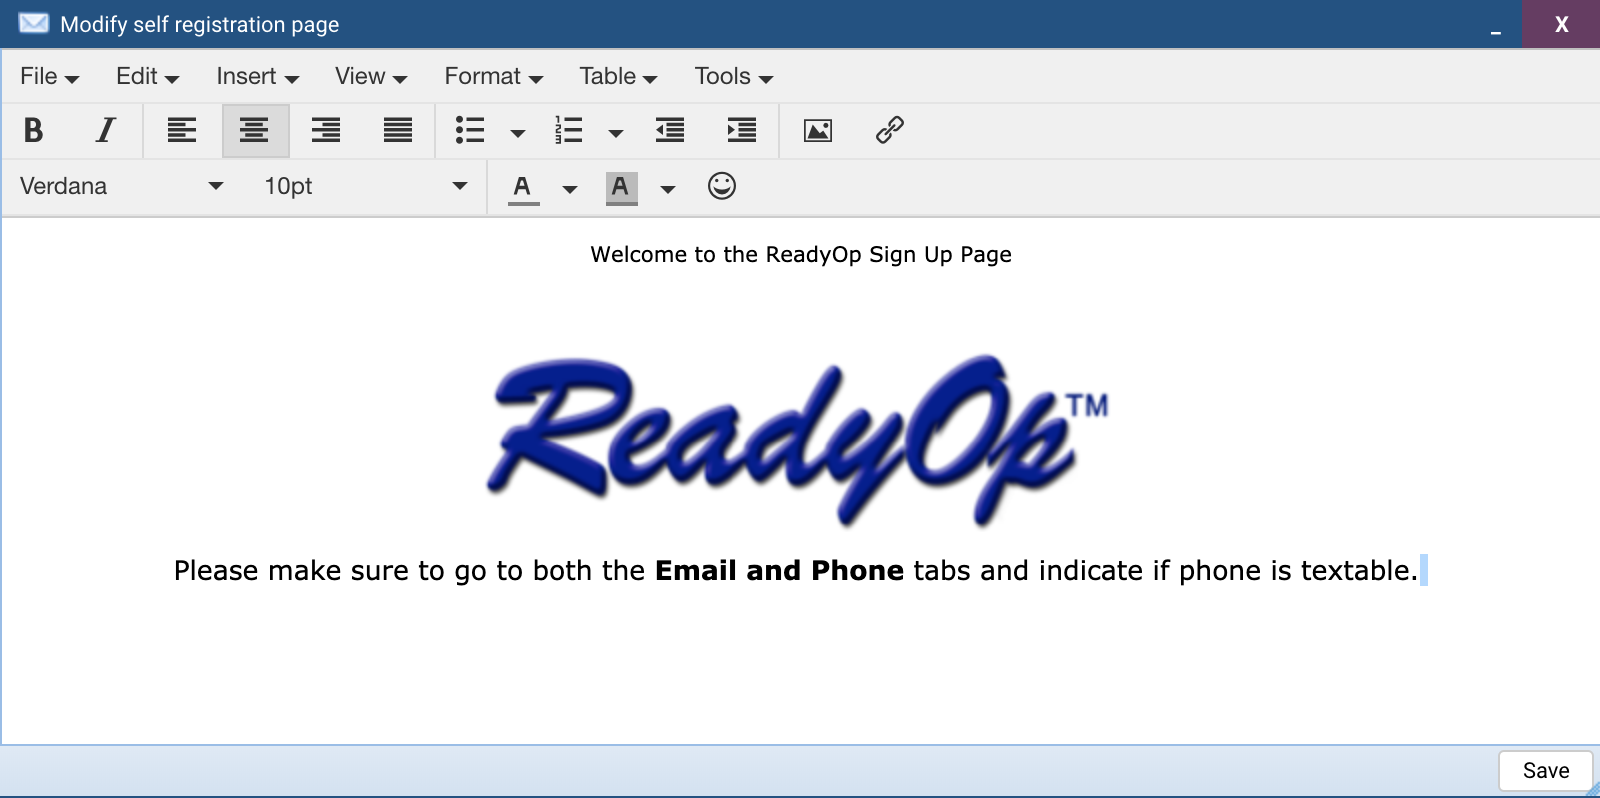
- On the left side of the modify agency dialog you will find the Registration Page, click “Modify Registration Page” and when this opens will look like an email body. Here you are able to add a logo, directions for completing the self registration page, etc. (directions can be given with instructions to fill out both the Email and Phone tabs, or to indicate if phone is textable).
- When you have finished modifying the Self Registration Page press “Save” to save the
To create the Self Registration link:
- Start by opening a browser, then open up a new window.
- Type in your agency name http://youragencyname.readyop.com
- Add this to the rest of the link /contact/register/agencynumber (this number should be your agency number).
- After you have finished typing all the information to create the link. You’ll be prompted with the following page as shown below.
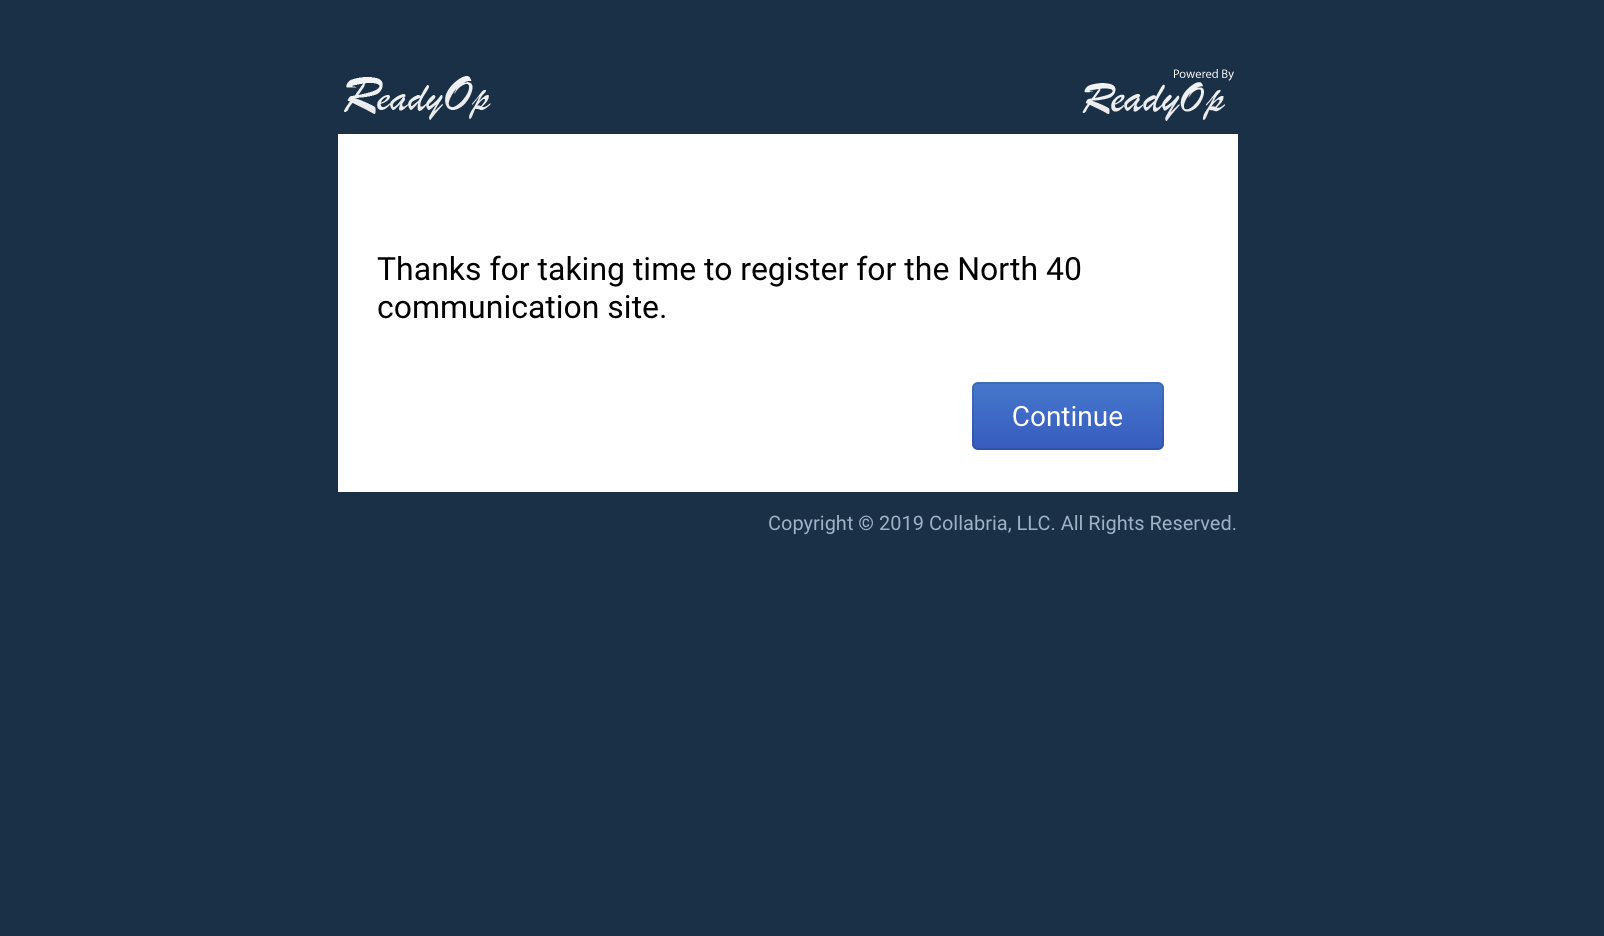
- Press “Continue” and you’ll be taking to the Self Registration page. Fill out the General Information as well as the Phone Numbers and Email Addresses.
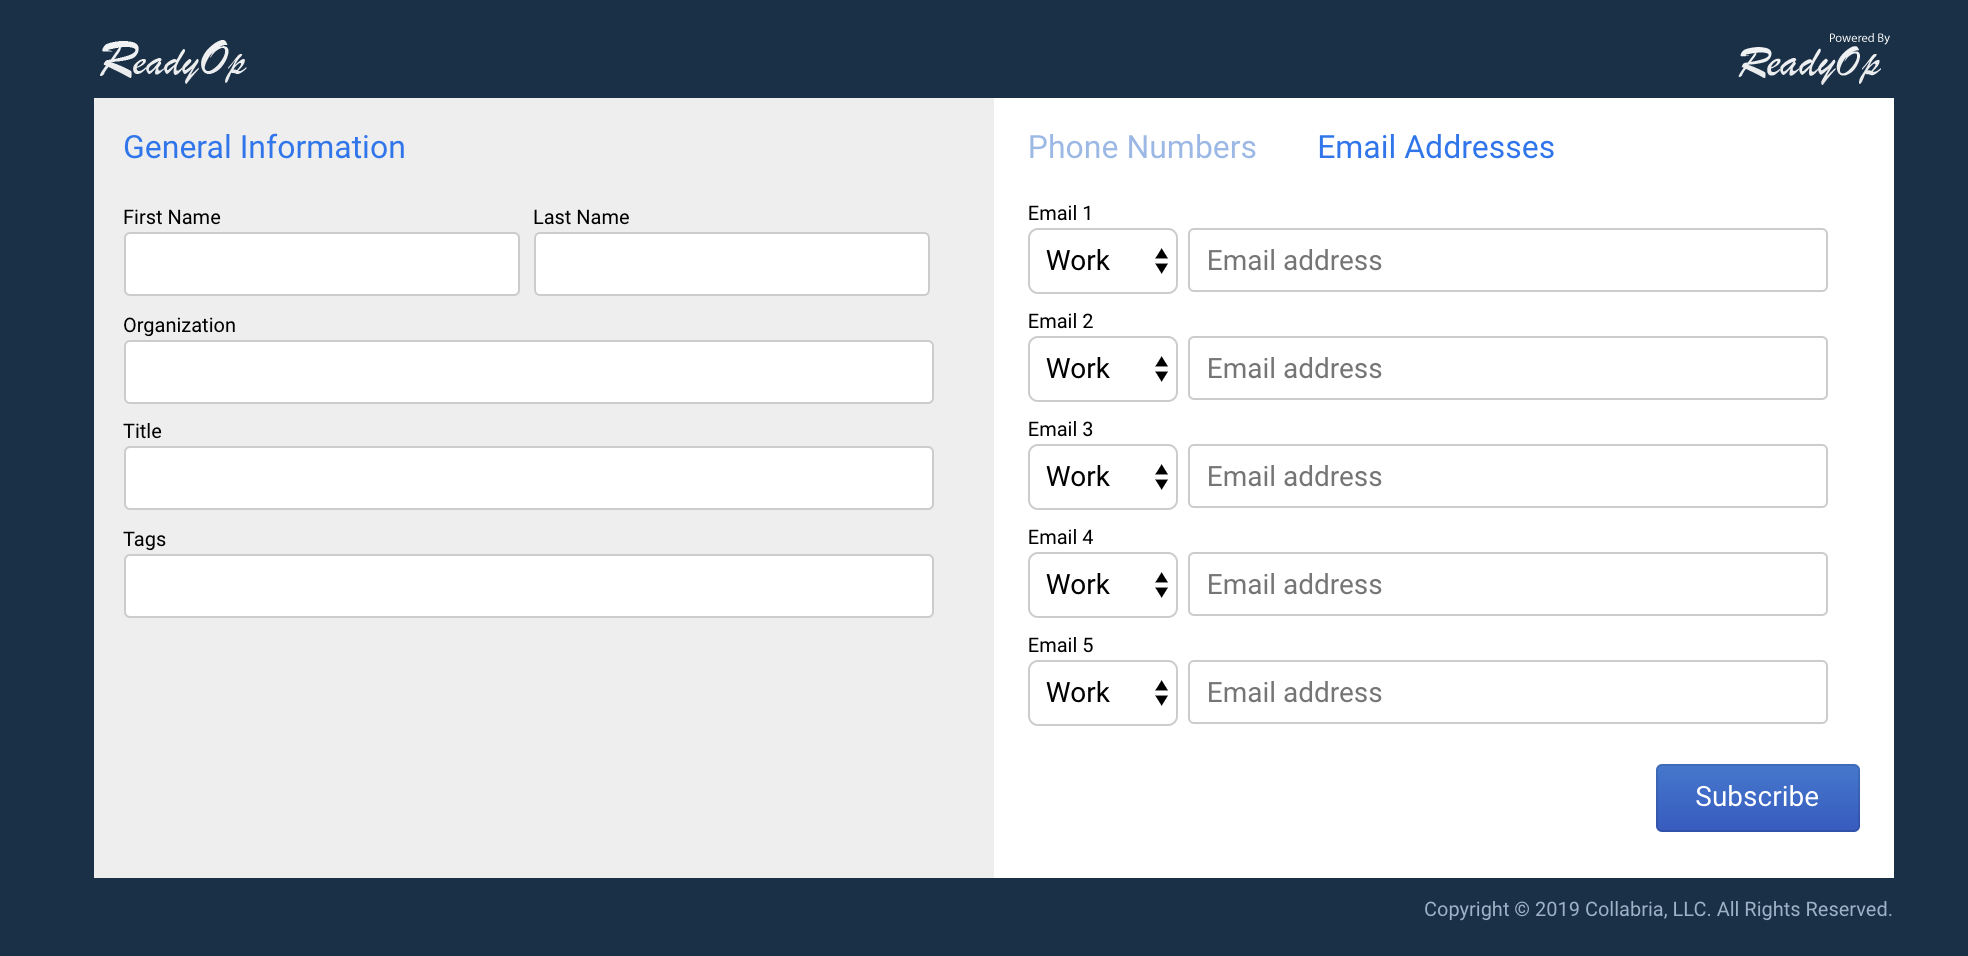
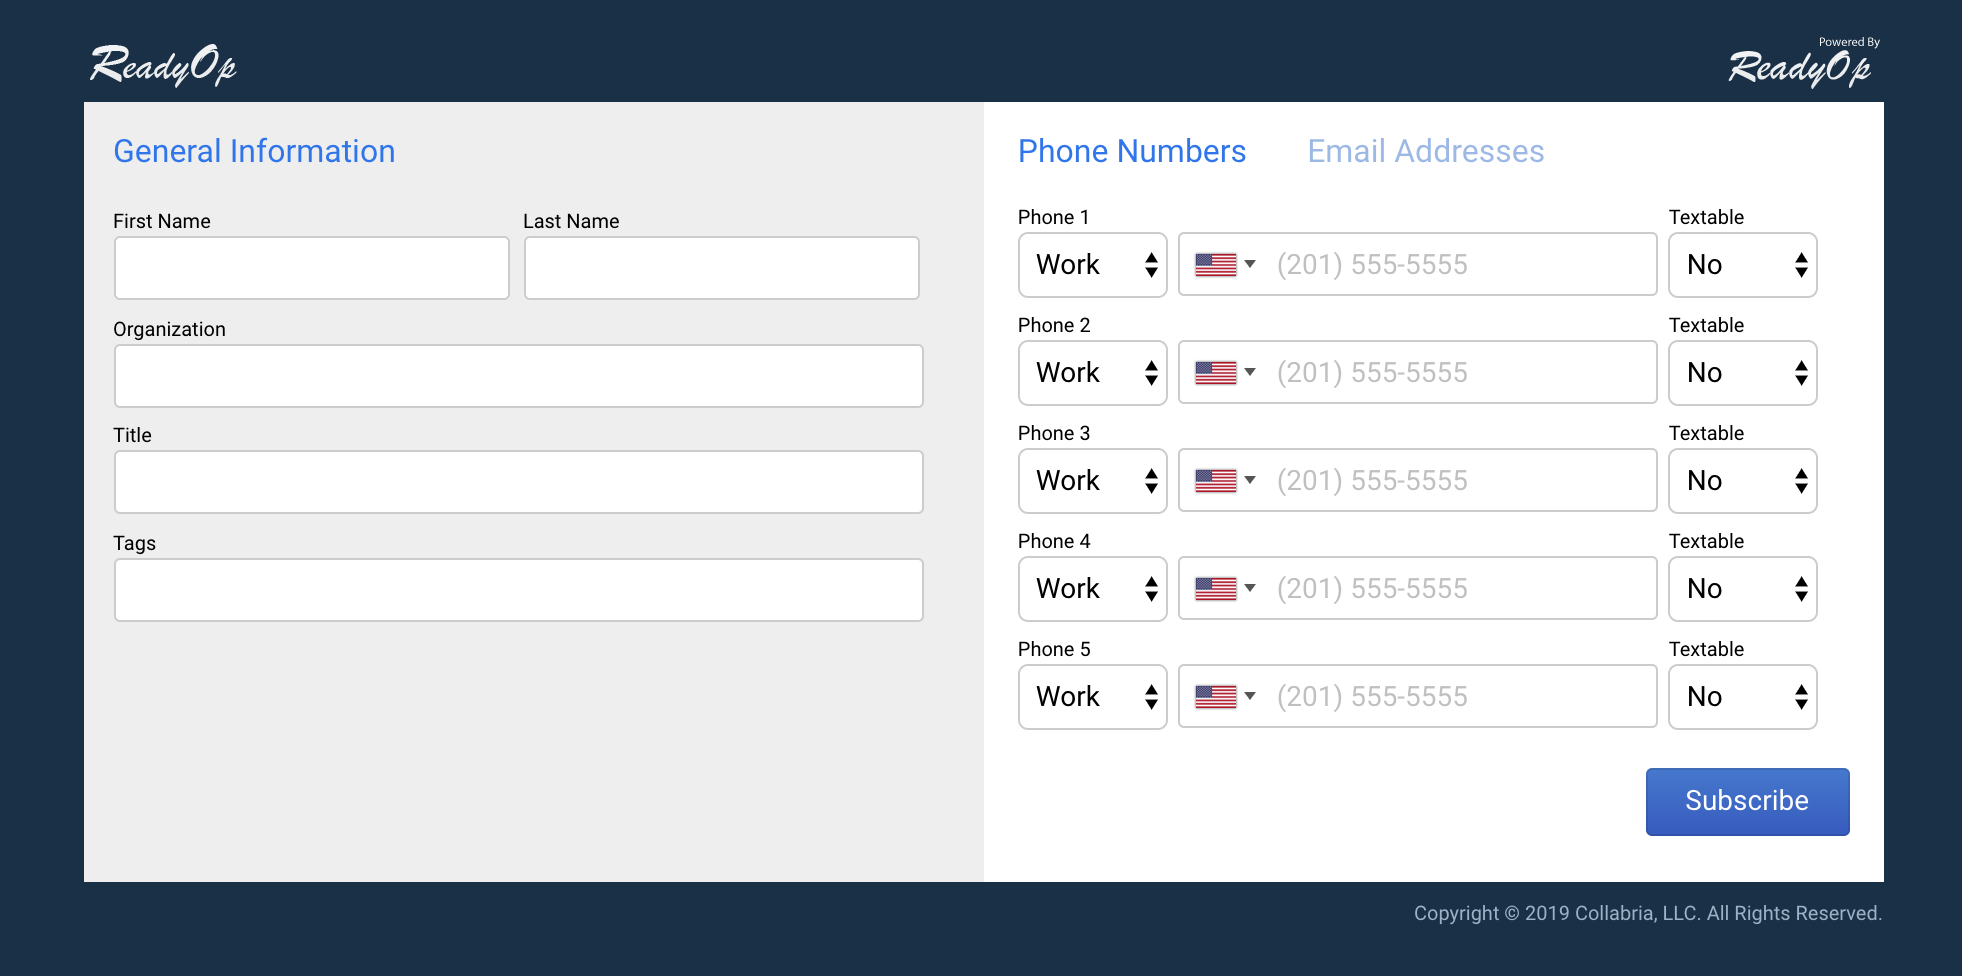
- After you have finished registering, Press “Subscribe” to submit your information and you’ll be prompted with a successful registered dialog.
How to import the Self Registration form
- Start by opening the “Roster” tab in the ReadyOp dashboard.
- This tab may have been re-named, or you may not have permission to access this tab. Please contact your system administrator for more information on locating the Roster.
- To the right of ‘Actions’ is the ‘Active’ status dropdown selection. Open the dropdown and choose ‘Pending’
- After you have selected “Pending”. You’ll see a list of pending people to be add to the Roster.

- Continue by checking the box next to the person you would like add to the Roster and choose ‘Approve Selected’.
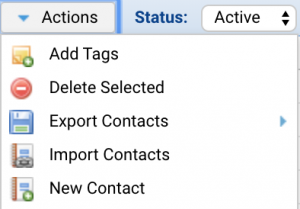
- Go to the ‘Actions’ dropdown. Select “Add Tags”, i.e. ‘New 5/3/19, Volunteer, etc.” This is very useful information that can be added to make searching Self Registration contacts easier once they are imported under the tags in the roster.
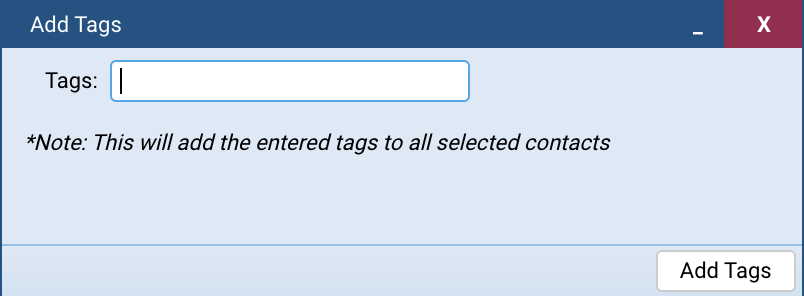
- After you have selected and add a tag to the person. Choose ‘Approve Selected’.
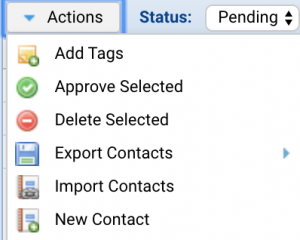
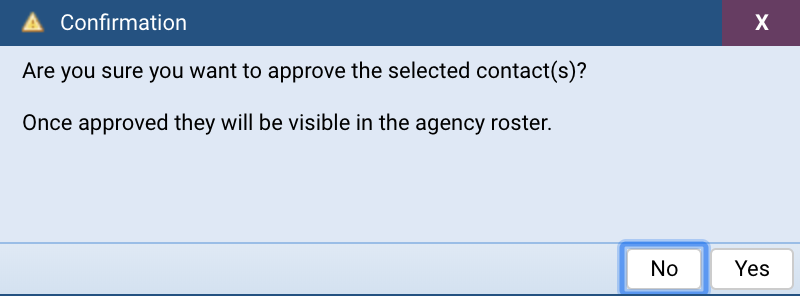
- You’ll be prompted with a confirmation dialog. Press “Yes” if you would like to add the selected contact(s) to the Roster.
- You can refresh the screen and go to Roster to see the new imported people.

